How To Create A Classroom Page

How to Create a Classroom Page

Creating your AdoptAClassroom.org Classroom Page is the first step to receiving donations to your classroom. Think of your classroom page as the primary way of sharing your classroom’s unique needs.

Having an up-to-date classroom page with accurate information is necessary to enter AdoptAClassroom.org’s grants and giveaways, and to fundraise on our platform.

Follow the steps below, or watch our video tutorial, to create your classroom page.

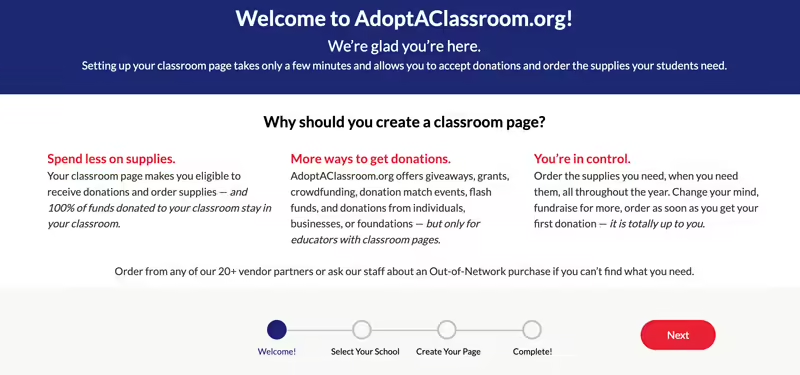
Step One – Select Your School
1.

Register or log in to your AdoptAClassroom.org account and make sure you have an AdoptAClassroom.org Classroom Page with accurate details, as well as profile and banner photos.

2.

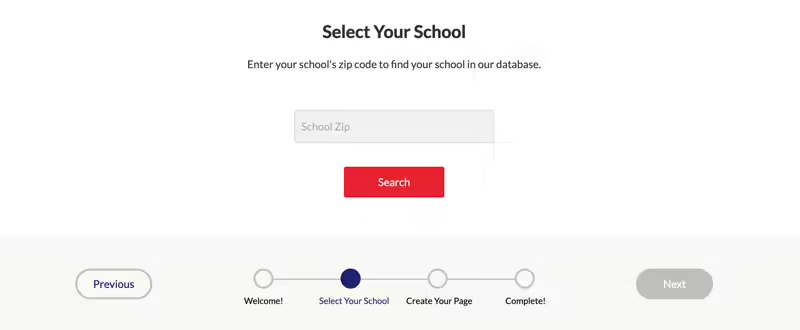
Enter your school’s zip code and click the “Search” button.

3.

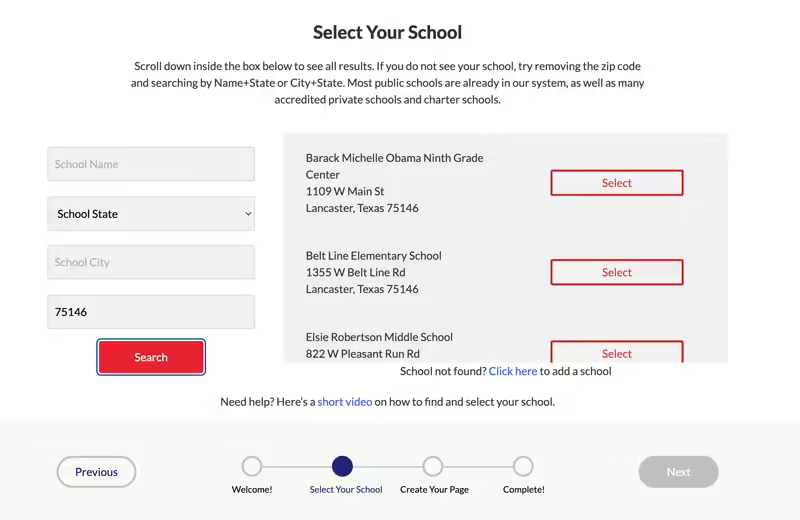
Scroll through the list of schools on the right until you find the one where you work, and then click the “select” button.

Having trouble finding your school? Try these few things:

Scroll through the entire list again carefully.

Try searching with just the school zip code and the first word of your school name. Or just the school zip code and state.

If you still can’t find your school, follow the “click here” link to request your school be added to our database (if eligible).

4.

Once you select your school, press the “Next” button in the bottom right-hand corner of the page.

Step Two – Upload Classroom Page Photos

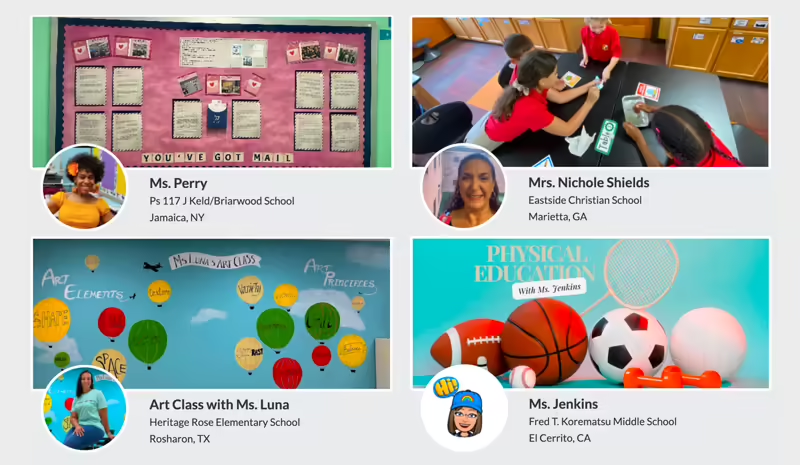
Here are some examples of profile and banner images from classroom pages of teachers who have each raised more than $1,000 through AdoptAClassroom.org. 

You can upload JPG or PNG files, and the maximum file size is 4 MB.
Profile Picture:

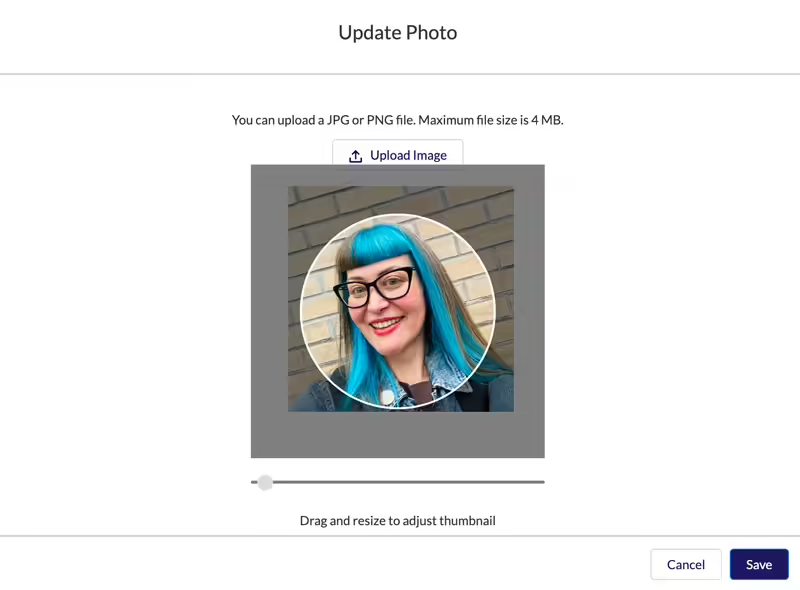
For your profile photo, please upload a photo or a Memoji/Bitmoji or other illustration depicting you. School photos work great for this!
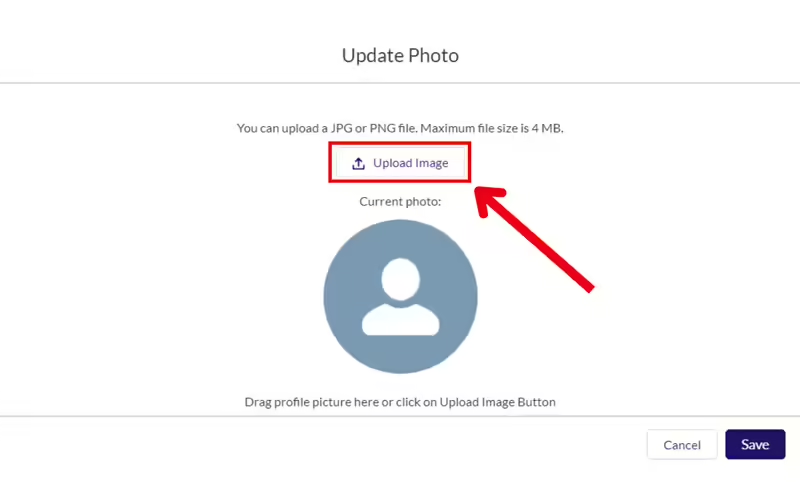
Do not use photos that are blurry, pixelated or otherwise hard to see

Do not include student faces or pets

1.

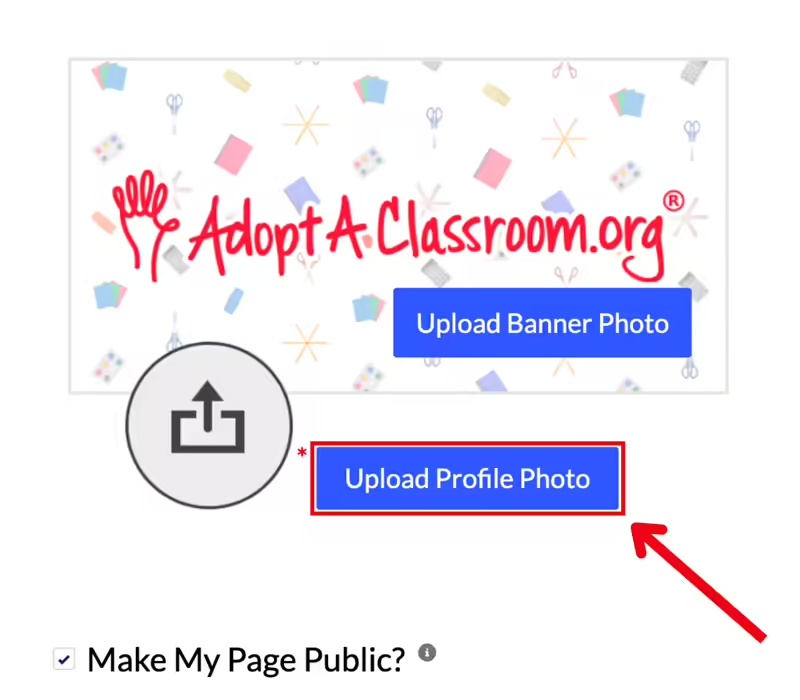
To upload a profile photo, click the “Upload Profile Photo” button.

2.

Click the “Upload Image” button, and select a photo from your computer to upload.

3.

Use the slider image to adjust the photo to your preference. Then click the “Save” button in the bottom right corner.

Banner Image:

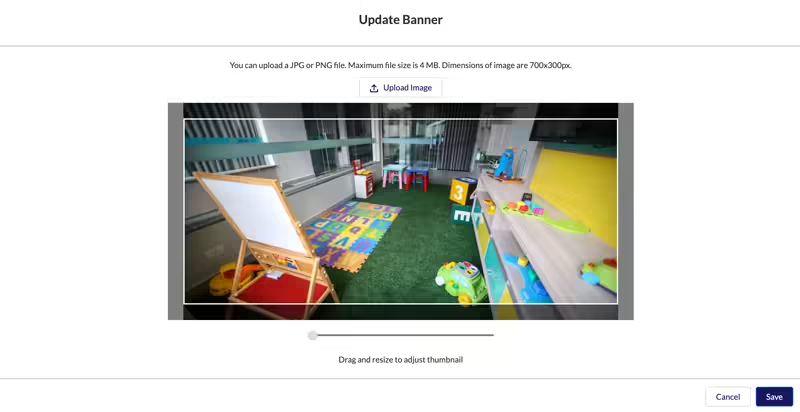
A good banner photo will represent your classroom, school or subject area, plus be clear and attention-grabbing. 

Uploading a photo that includes recognizable student faces constitutes your assurance that you have obtained proper written permission from the guardian of each student whose face is recognizable.

Examples of how to strategically take photos that show students without using their faces (ex – back of students’ heads, hands, etc.) are available on our blog.
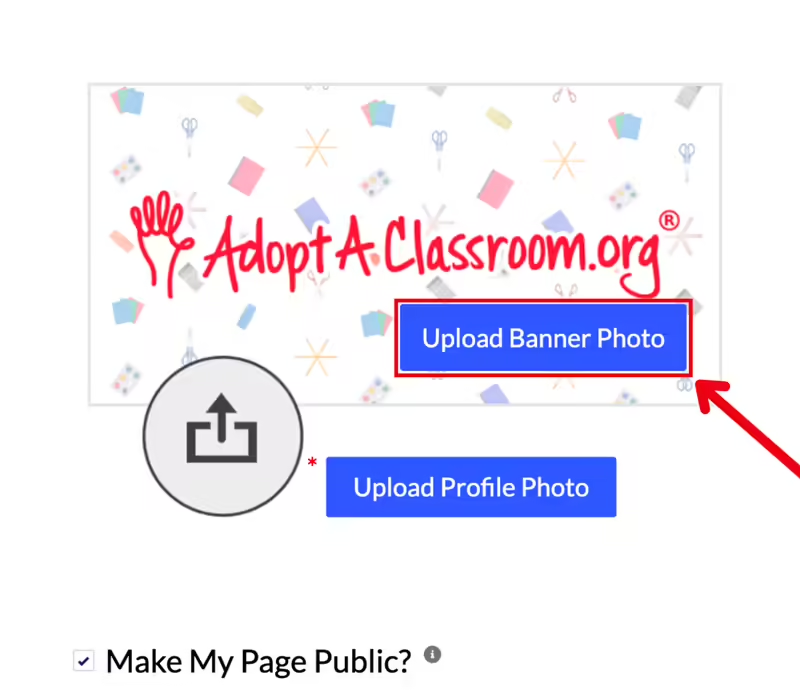
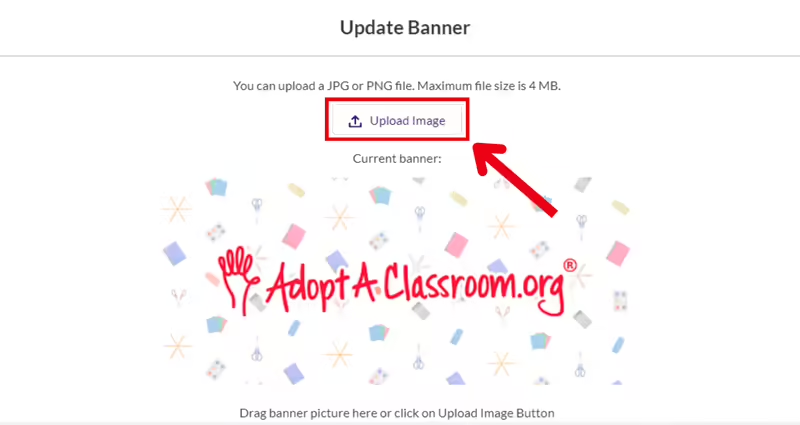
4.

To add a banner photo, click the “Upload Banner Photo” button.

5.

Click the “Upload Image” button, and select a photo from your computer to upload.

5.

Use the slider image to adjust the photo to your preference. Then click the “Save” button in the bottom right corner.

Step Three – Tell Your Classroom and Teaching Story

Your classroom page provides important information about your classroom, school, and students.
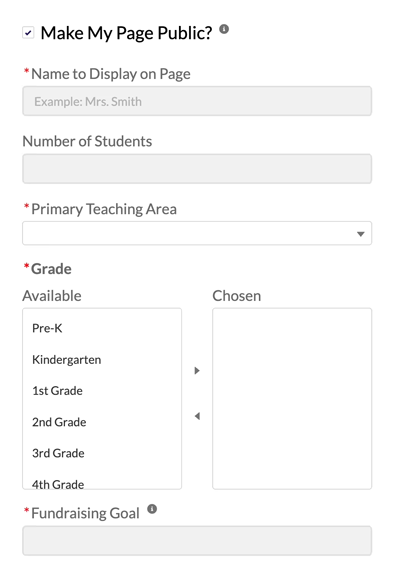
1.

On the left side of the page, enter your basic classroom information and set a fundraising goal. You can increase or decrease your goal at any time.

Note – If you want your AdoptAClassroom.org Classroom Page to remain private, make sure to click the box below. By default, classroom pages are public, and donors will be able to find and donate to your classroom through our Fund A Teacher tool.

2.

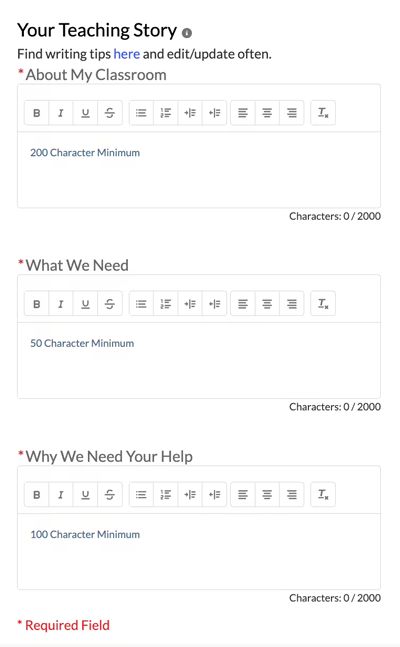
Fill out the boxes on the right side of your classroom page. This is your chance to tell your classroom’s unique story, so think about what details will help donors connect with you and your students.

Our fundraising guide provides more information on what our funders are looking for in each section.

Please protect your students’ privacy.

3.

Once your classroom page is filled out, click the “Save” button on the bottom right-hand corner of the page.

Step Four – Reviewing Your Classroom Page

Your classroom page provides important information about your classroom, school, and students.
1.

Click the “Save and Continue” button at the bottom right corner of the page to publish your classroom page.

2.

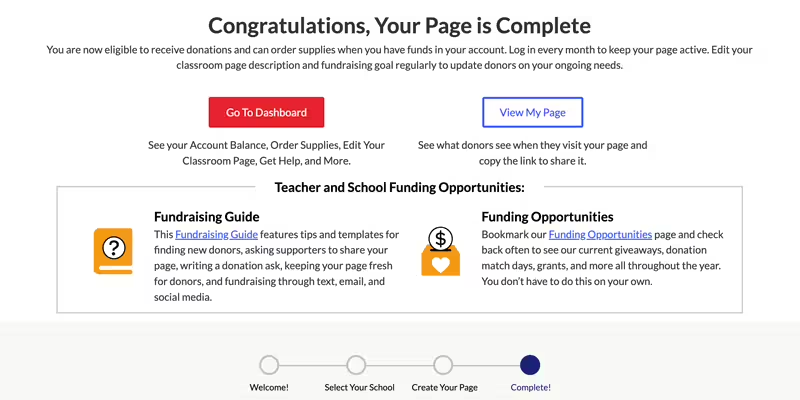
Now that your classroom page is officially created, you will be eligible for donations on AdoptAClassroom.org. You should see the confirmation screen below.

Click the “View My Page” button to view the page that potential donors can see.

Click the “Go To Dashboard” button to see your account balance, order supplies, and to view our fundraising resources and opportunities.

If you have any questions about creating a classroom page on AdoptAClassroom.org, reach out to us at [email protected], and we can help.