
To spend a donation you receive through AdoptAClassroom.org, you first have to create an AdoptAClassroom.org Classroom Page.
The process of creating your classroom page is simple. Follow the step-by-step instructions below or watch this video tutorial.
Step One – Log in to AdoptAClassroom.org
If you’ve logged in before:
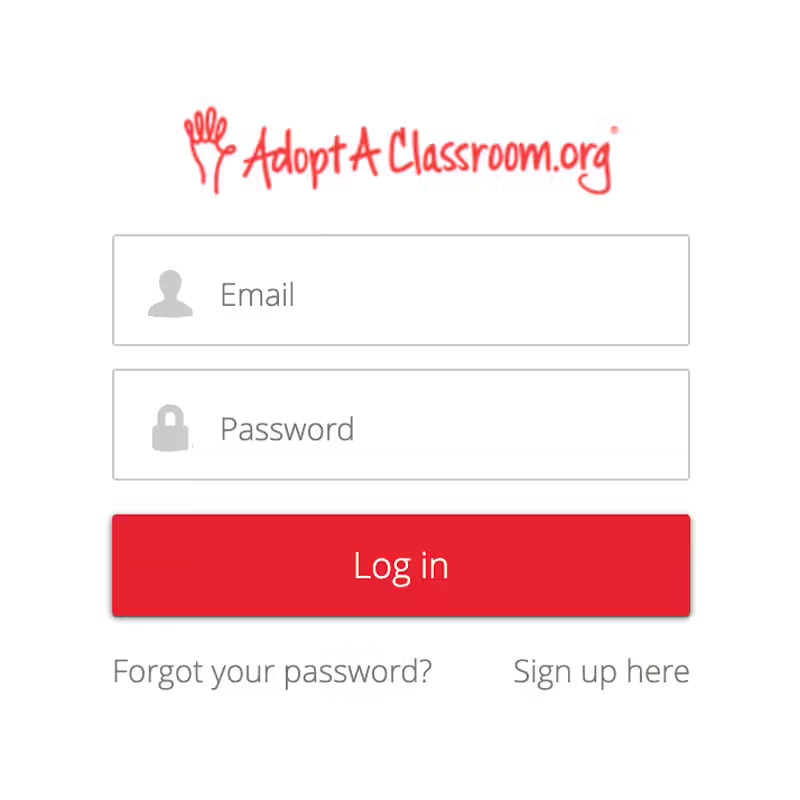
Visit the login page and enter your email address and password.
If you’re logging in for the first time:
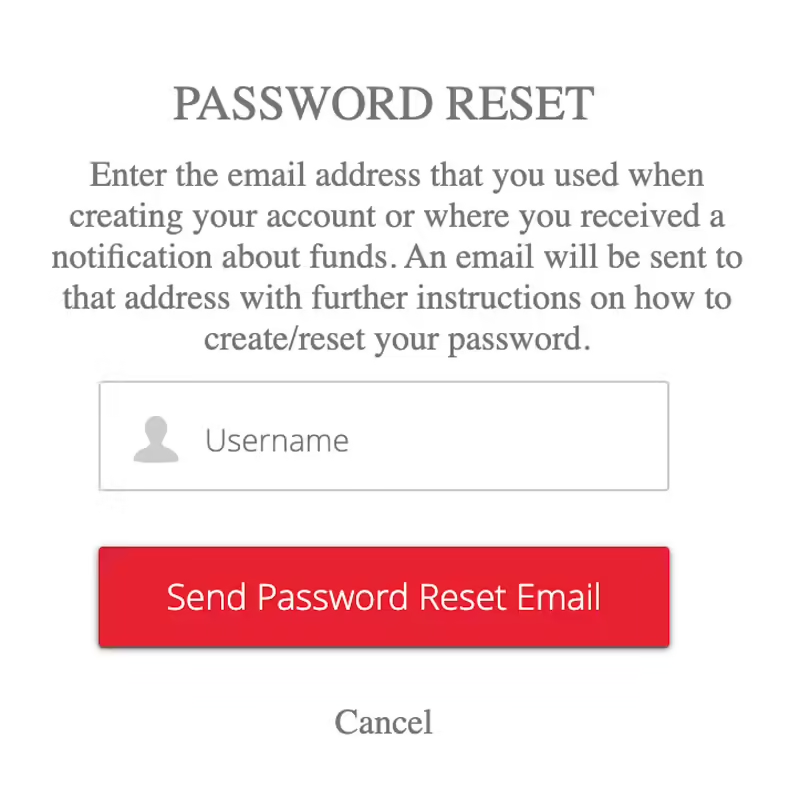
Visit the login page, and then click “Forgot your password?” and enter your email address.
After clicking “Send Password Reset Email,” you will receive an email with a link to create a password and log in.
Step Two – Write a Thank-You Note to Your Donor
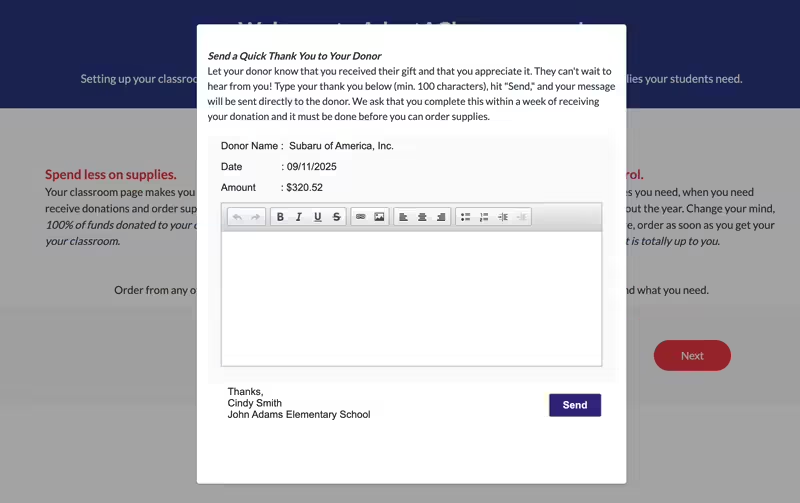
Once you’re logged in, a pop-up will prompt you to write a brief thank-you note to your donor. Not sure what to write? Read our blog post on how to thank your classroom donors.
Please remember to thank your donor as soon as possible, even if you’re not ready to spend your donation.
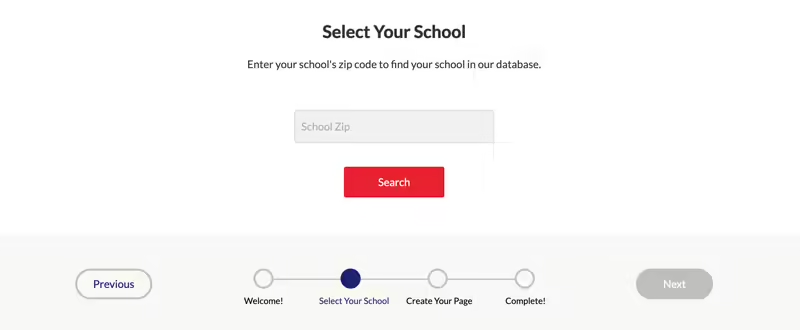
Step Three – Confirm Your School Information
If you’ve received a donation from one of our corporate partners, your school’s information should be pre-loaded. Confirm that it is correct.
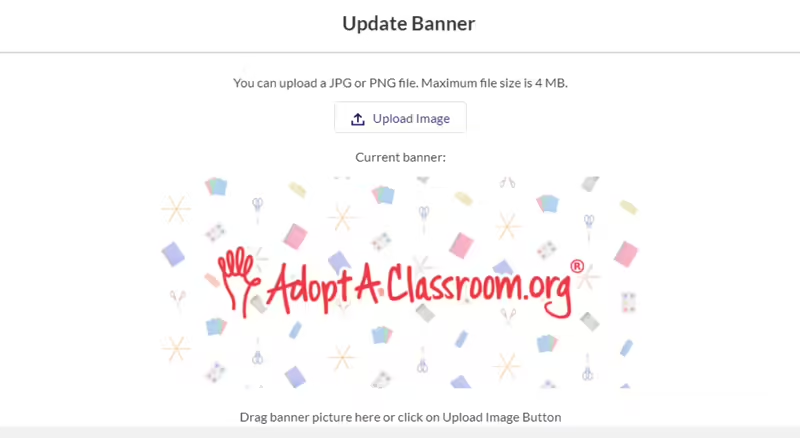
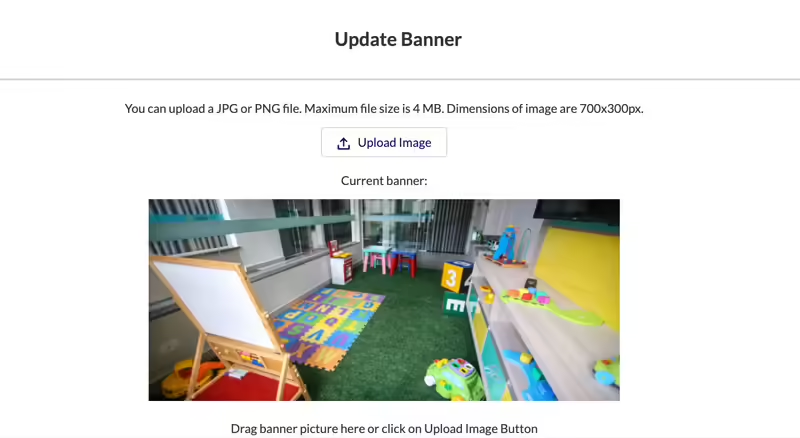
Step Four – Upload Photos
Here are some examples of profile and banner images from classroom pages of teachers who have each raised more than $1,000 through AdoptAClassroom.org.
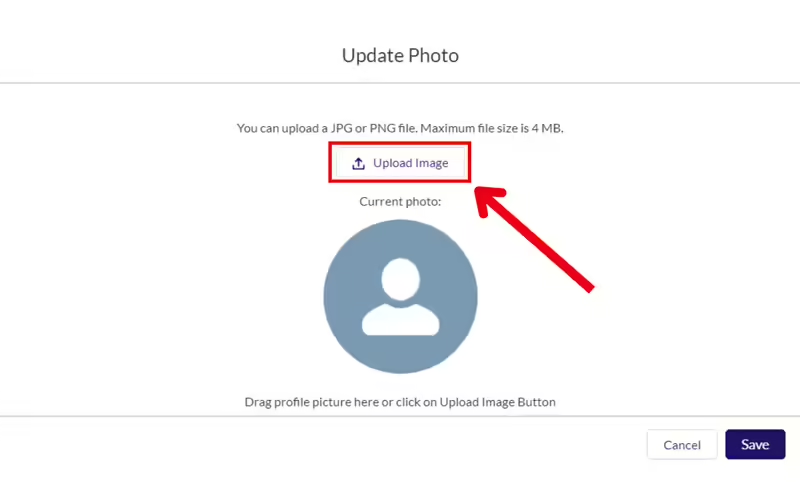
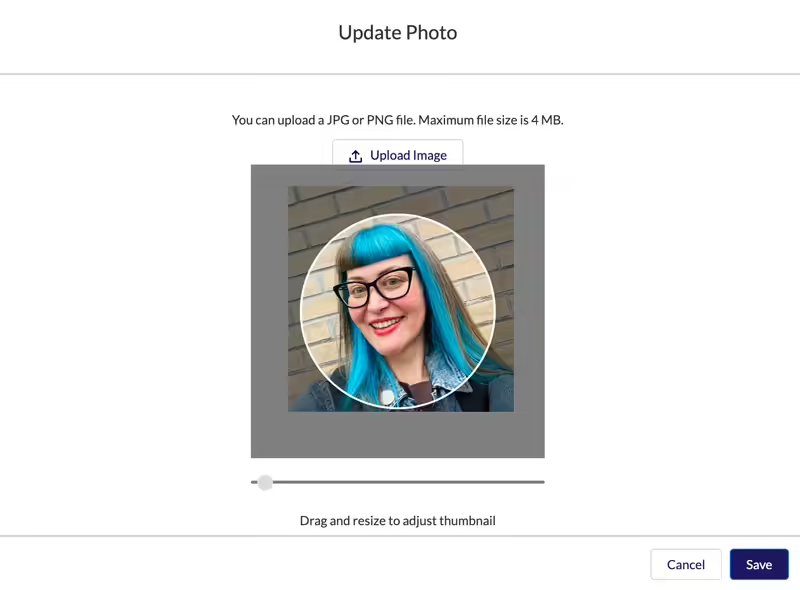
You can upload JPG or PNG files, and the maximum file size is 4 MB.
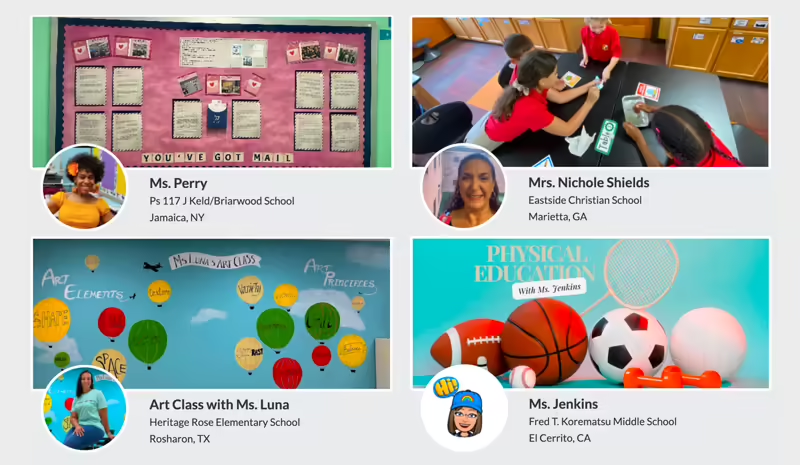
Profile Picture:
For your profile photo, please upload a photo or a Memoji/Bitmoji or other illustration depicting you. School photos work great for this!
Banner Image:
A good banner photo will represent your classroom, school, or subject area.
Uploading a photo that includes recognizable student faces constitutes your assurance that you have obtained proper written permission from the guardian of each student whose face is recognizable.
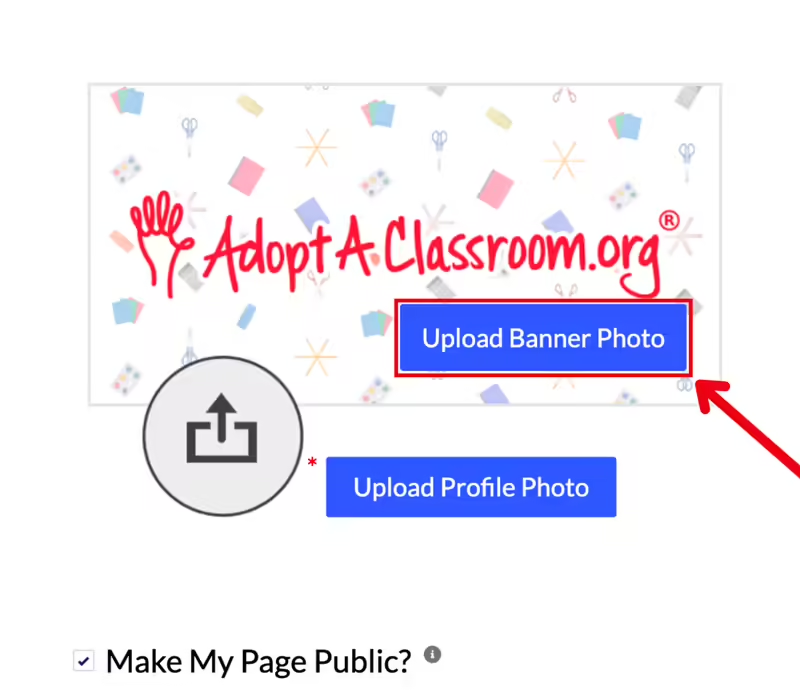
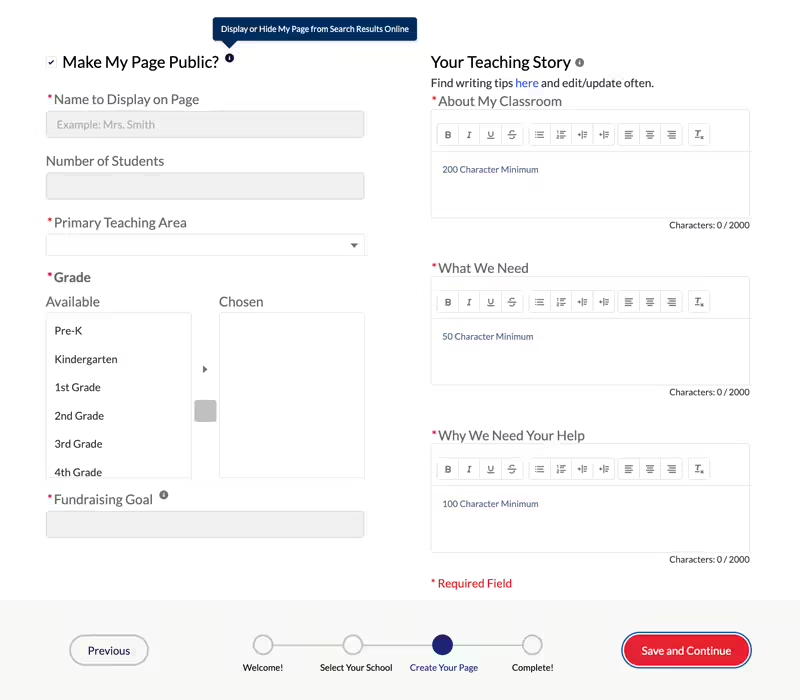
Step Five – Tell Your Classroom Story
Your classroom page provides important information about your classroom, school, and students.
Step Six – Reviewing Your Classroom Page
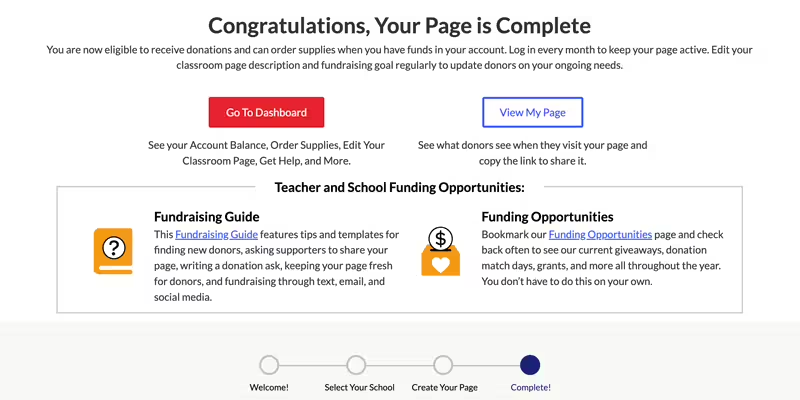
Step Seven: Navigate to the AdoptAClassroom.org Marketplace
Once you’ve finished creating your classroom page, it’s time to select your school supplies. Click “Go To Dashboard” and then “Order Supplies” to browse our online marketplace.
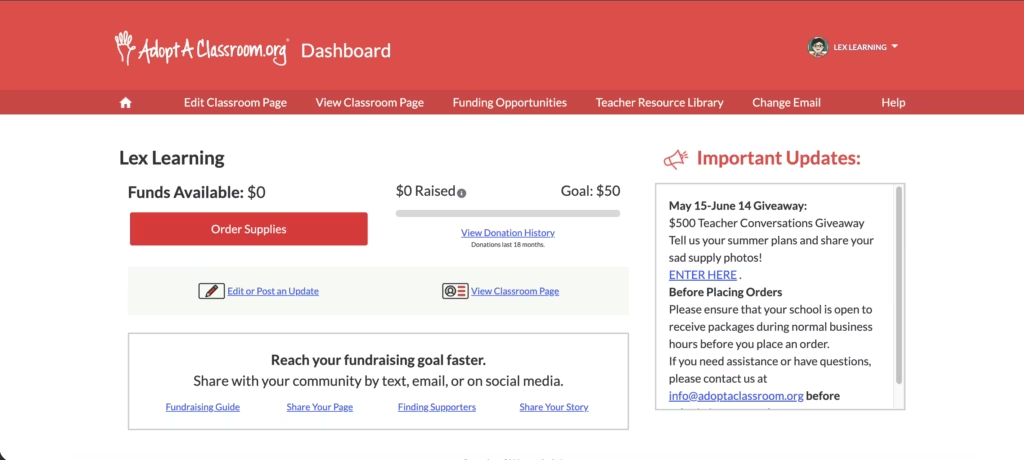
If you need help navigating the marketplace, check out our guide to ordering school supplies with AdoptAClassroom.org. Or, see if our online help center has your answer.
If you still can’t find the information you need, or are having trouble creating your classroom page, reach out to the friendly folks on our Teacher Services Team at [email protected].