
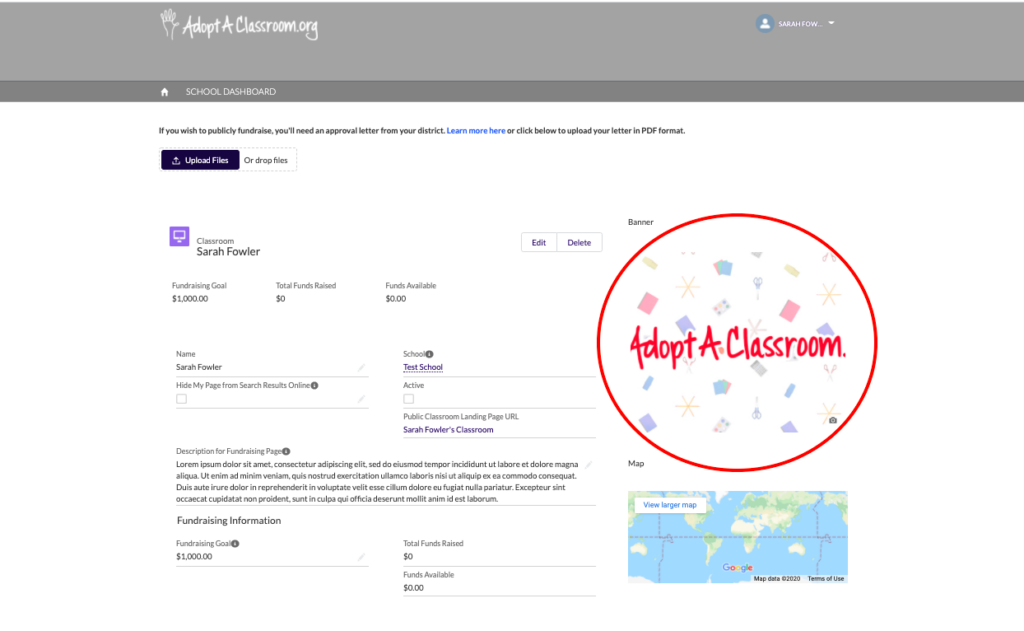
We highly encourage all school account administrators to upload a banner image to their School Profile Page, to help tell their school’s story.
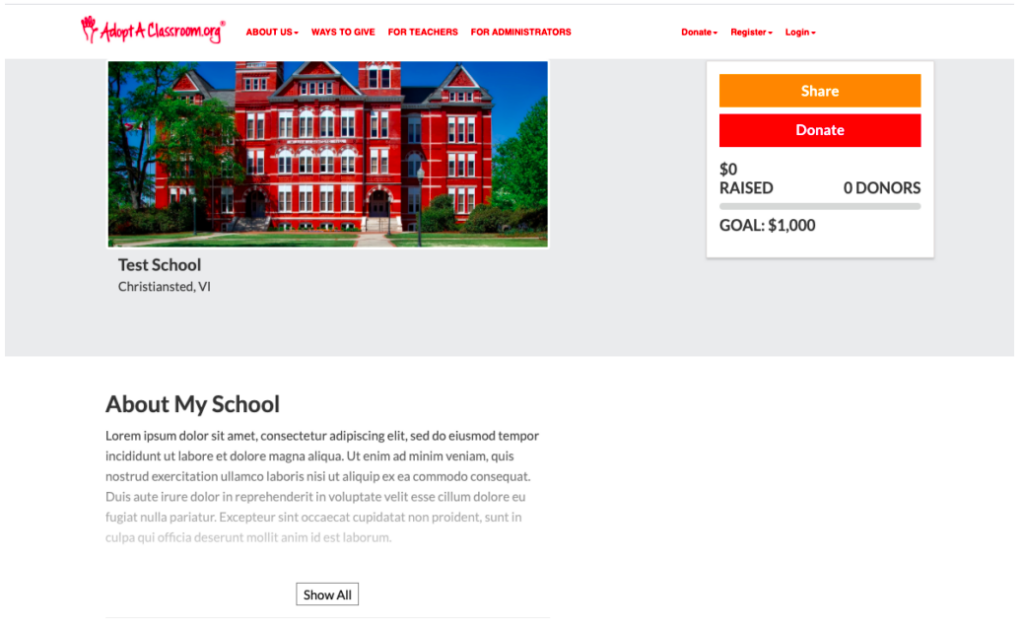
If you have a Public-Facing School Profile Page on our website, your banner image will appear at the top of your page, directly above your school name. It will be one of the first things visitors to your School Profile Page see.
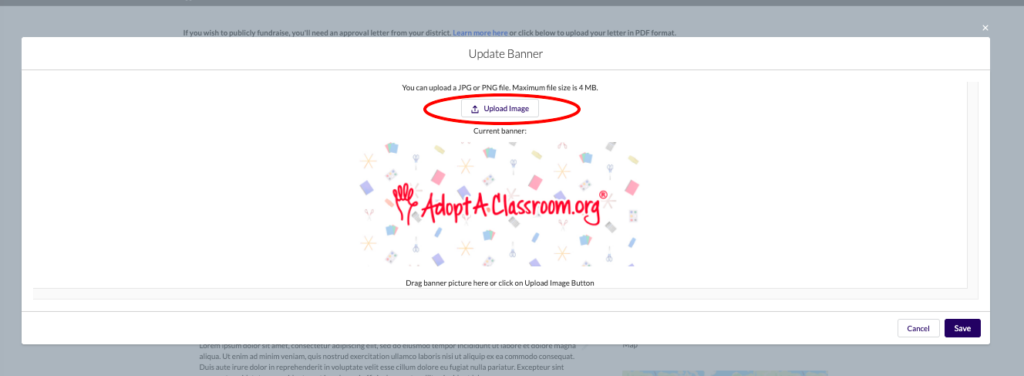
Your photo should be representative of your school. You could upload an image of your school’s logo, the school building, or some of the students and/or teachers.
Note: If you include people in your photo, please make sure you have their permission before you upload the photo.
Click here for tips on how to protect student privacy in photos.
If you need a media release form for a student or teacher, you can click here to download ours.
Follow These Steps to Successfully Upload Your Banner Image:
1. From your School Profile Page dashboard, click click within the AdoptAClassroom.org logo area.
2. Next, click the “Upload Image” button.
Note: You can upload a JPG, GIF, or PNG file. The maximum file size is 16 MB.
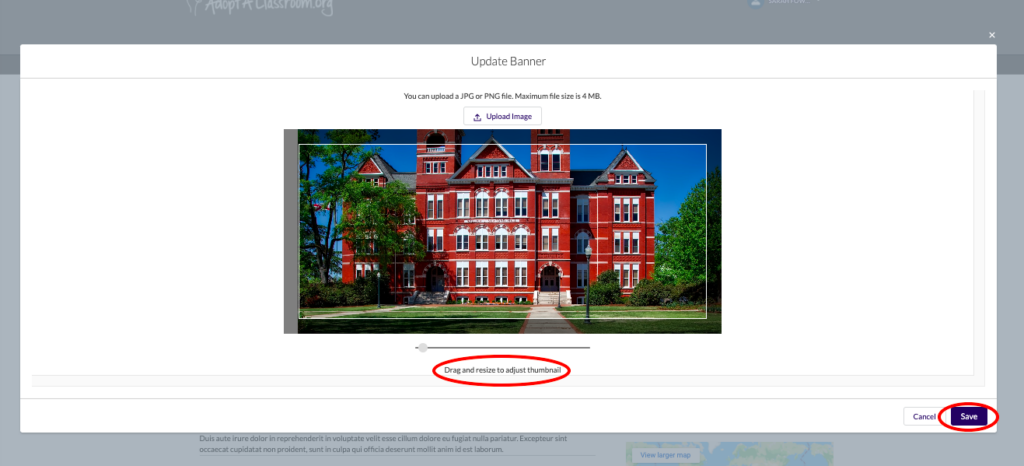
3. Select an image from your image library, and click the “Save” button in the lower right corner. You can adjust the size and placement of your image before clicking save. Make sure your image is horizontal so it fits within and fills the banner area.
4. Your image should now appear in the “Banner” box.
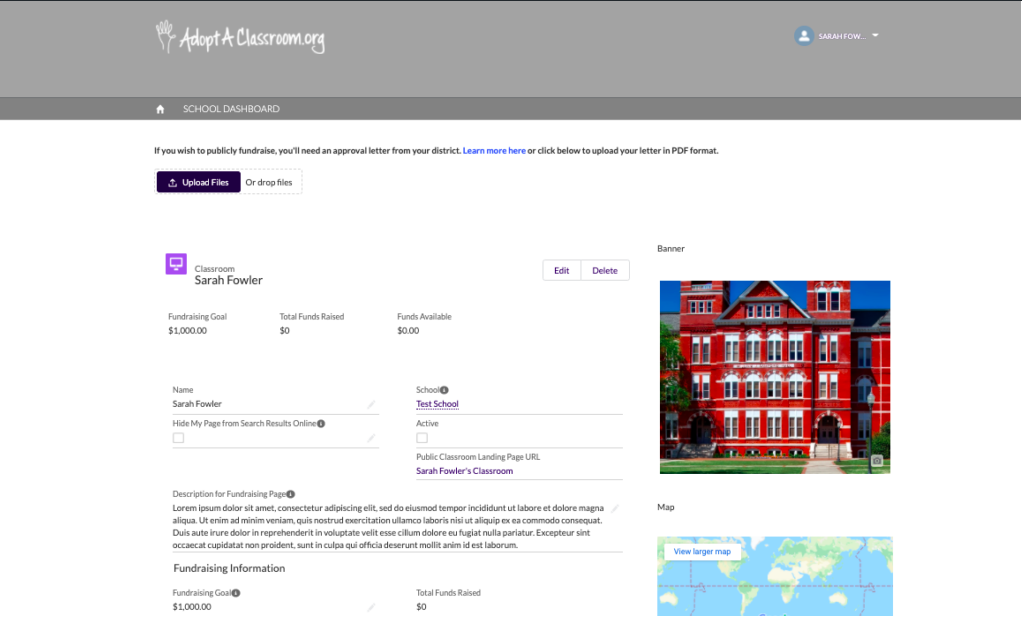
On your School Profile Page it will appear at the top. This is exactly what donors and other visitors to your page will see (if your page is public-facing). If you page is not public-facing, it will not be searchable or viewable online.
If you need help uploading your image, please contact us at [email protected].