Protecting student privacy is one of the many responsibilities school administrators have to ensure students are safe. And, because student safety is a priority, we know taking and sharing photos and videos of students can feel overwhelming.
We’re here to help! Check out these three tips to safely take and share great photos and videos of students that protect their privacy.
Tip #1: Avoid including students’ faces
There are many ways you can take great photos and videos of students without revealing their identities.
Here are three ways, with examples:
1. Show the back of their heads, or their faces in profile, while they’re busy with schoolwork.
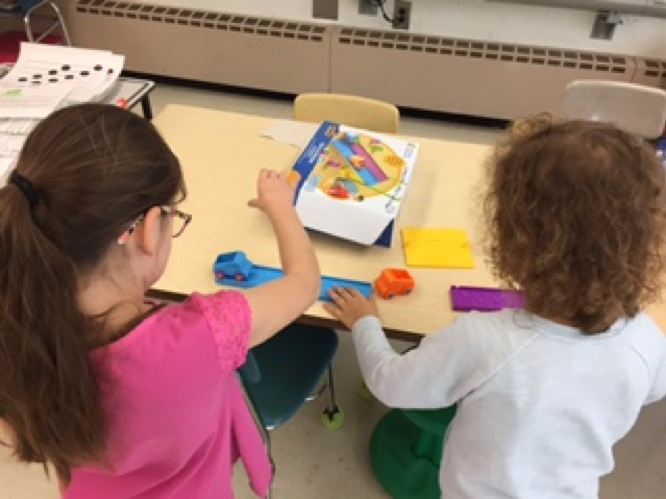
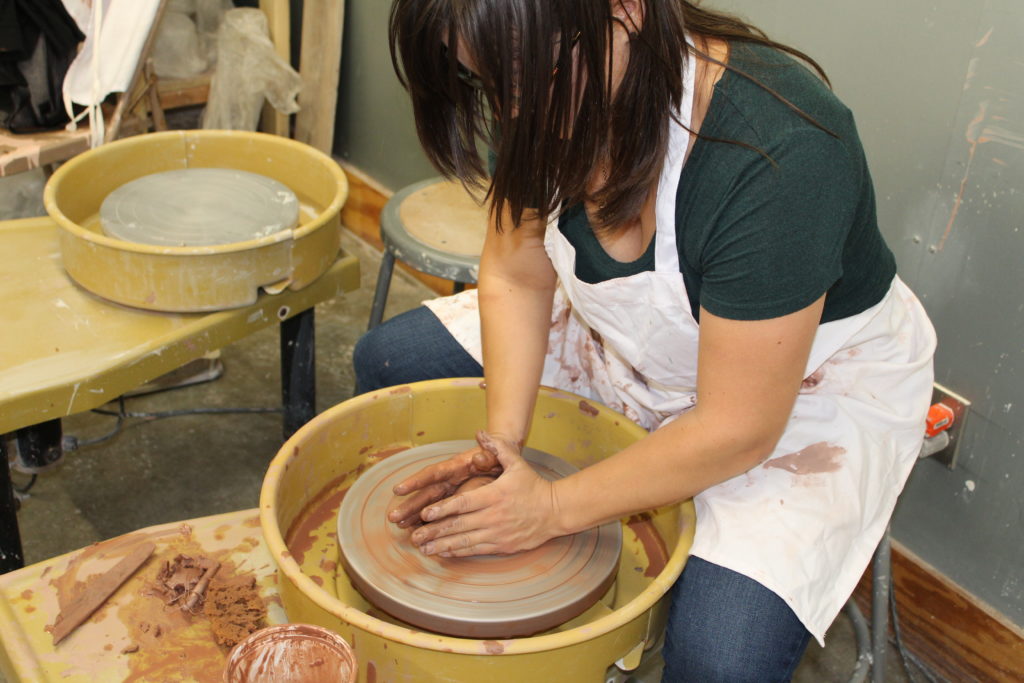
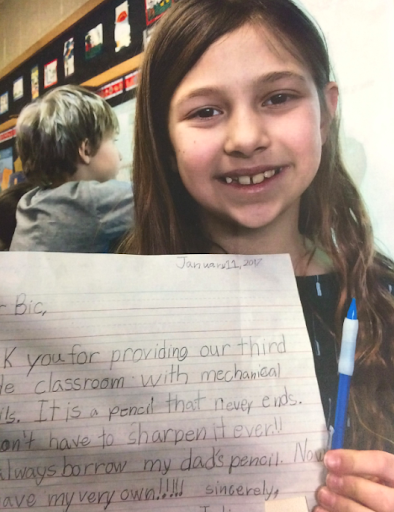
2. Include the students’ hands only. They could be holding supplies purchased with your donation, or a thank you note.
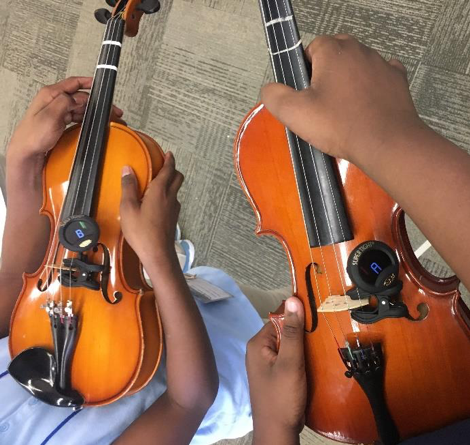
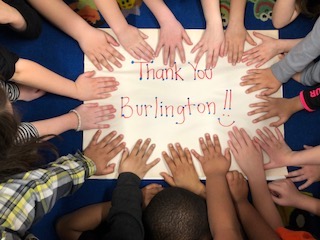
3. Find a creative way to hide their faces. They could be holding supplies purchased with your donation, or a thank you note over their faces.
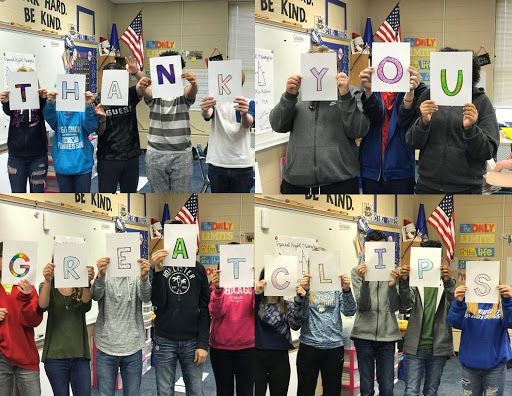
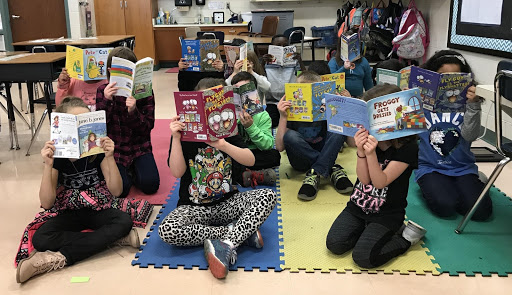
Keep in mind that we share your photos and videos with donors and sponsors. These examples are great because they highlight what was purchased, or show off a handmade thank-you note that says how much the donation meant to the students.
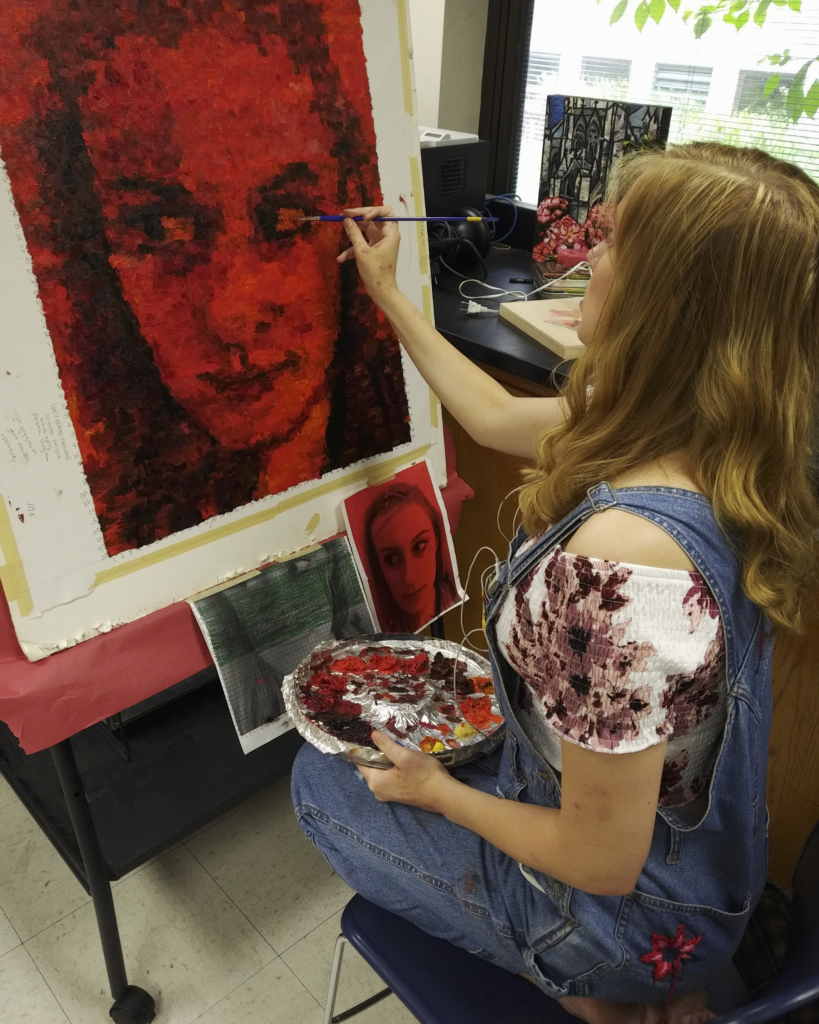
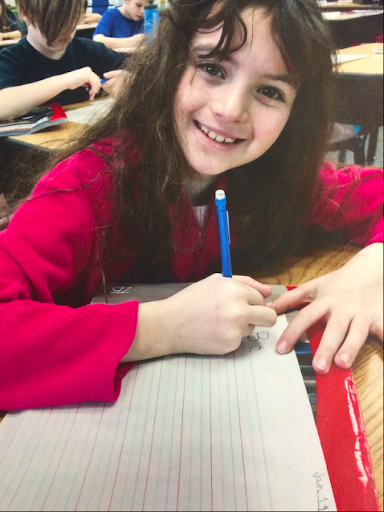
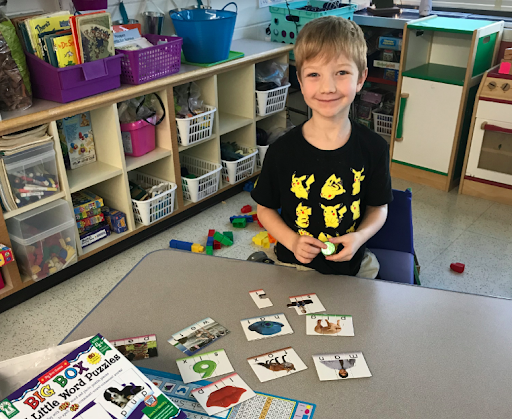
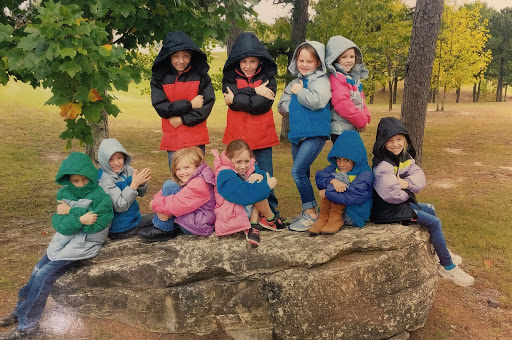
Tip #2: If you include students’ faces, get a signed release form for each student
If students can be easily identified in your photo(s) or video(s), we require a completed AdoptAClassroom.org media release form for each student in the photo(s) or video(s) whose face is visible. Without a release form for each student, we cannot share your photo(s) or video(s) publicly.
We ask that you complete our release form even if your school has its own media policy in place. Unfortunately, your school’s release does not allow for AdoptAClassroom.org’s potential use of your photo(s) or video(s). For example, we may want to use your photo(s) or video(s) on our social media channels or website to raise awareness of our mission, or encourage donations.
You can download our release form in English here. Find our release form in Spanish here.
Here are some great photos of students that were sent to us with completed release forms:
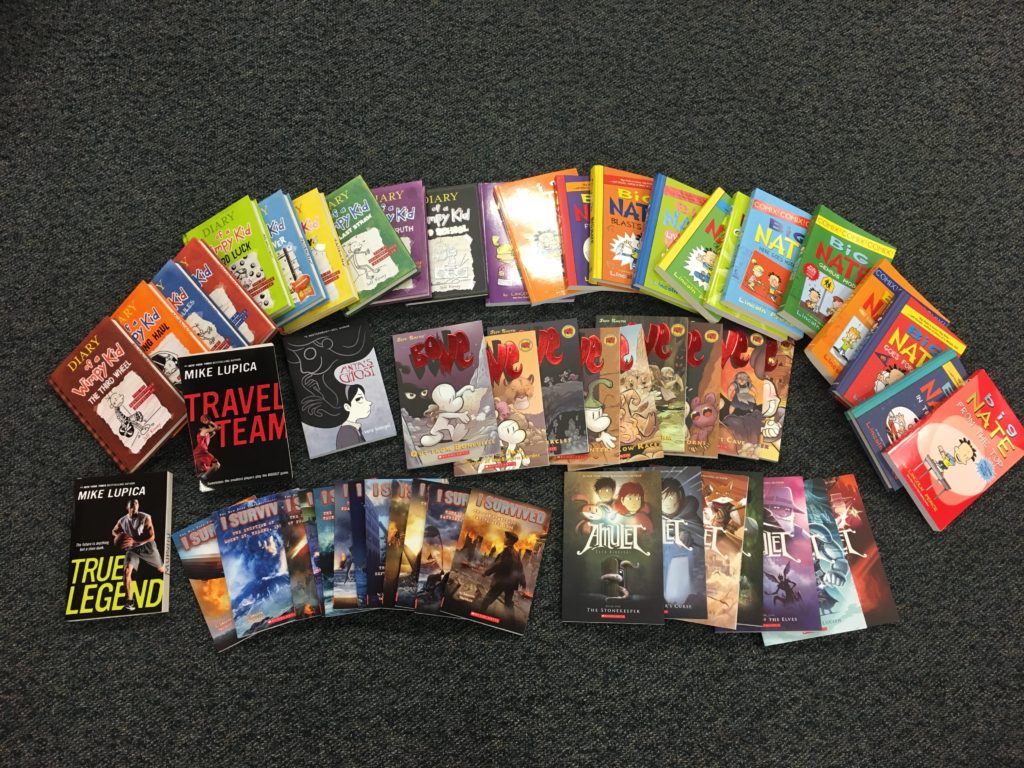
Tip #3: Show what was purchased and tell students’ stories
Take photos of or film the items you purchased for your school, and/or what was created with the items, and include a story about how the items benefitted students.
For example, if you purchased new books for the school library, take a few photos of the books on the shelves, or pan across them with your camera, and write about why you chose to purchase those particular books. Get specific about how the new books are helping students in their learning.
Note: When talking about students, please make sure to keep their identities anonymous.
Here are some photos of supplies that do not include students:

Not sure if your photo(s) or video(s) meet the criteria?
We’re here to help. Be sure to visit the section of our blog for schools, or contact us at [email protected].