
We’ve launched new classroom fundraising pages for teachers and schools on AdoptAClassroom.org!
In 1998, AdoptAClassroom.org was founded as one of the original crowdfunding websites. Since then, we’ve done our best to keep our platform up-to-date as technology has rapidly evolved. Times have changed over the last 20+ years, and our classroom pages were due for an upgrade.
We’re excited to announce that we’ve launched our new classroom and school fundraising pages!
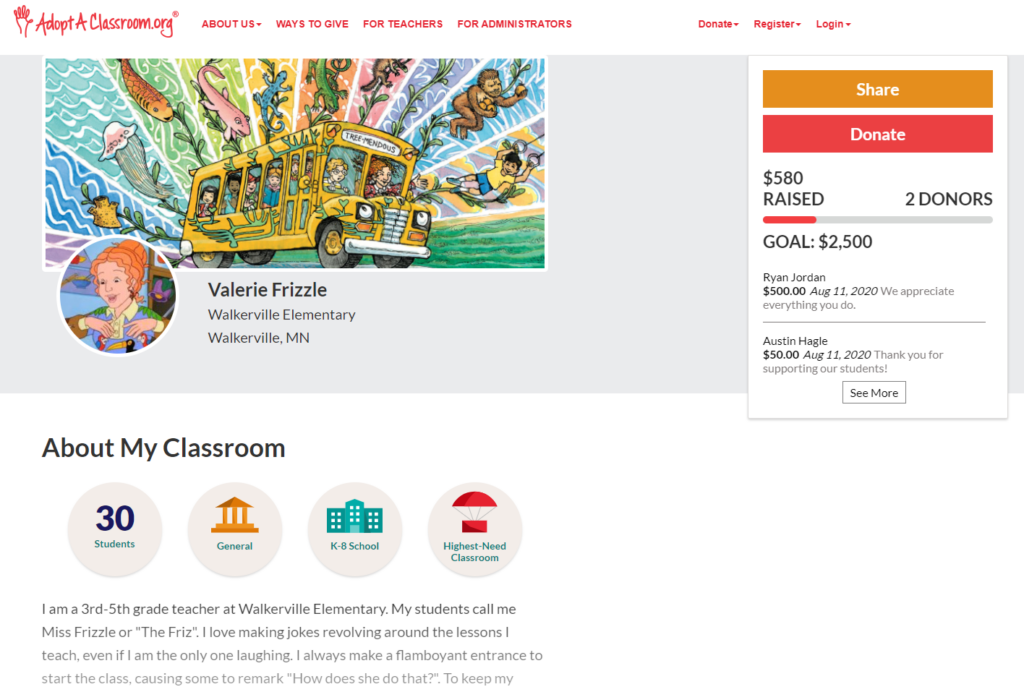
Check out our fundraising pages’ fresh new look and features!
Update or Create Your AdoptAClassroom.org Classroom Fundraising Page
If you’re a teacher who already had a classroom fundraising page on AdoptAClassroom.org before our August 2020 update, please login to revise your fundraising ask and upload your photos to ensure they align with our platform’s new look. Read our Fundraising Guide for Teachers for inspiration on updating your ask here.
Don’t have an AdoptAClassroom.org account? Register your classroom on AdoptAClassroom.org and create a classroom fundraising page so you can start crowdfunding here.
Need some help navigating the new page? Read our step-by-step instructions below for assistance on using your new classroom fundraising page.
How to: Edit the information on your classroom fundraising page
Login to your AdoptAClassroom.org account so that you’re in the Teacher Dashboard.
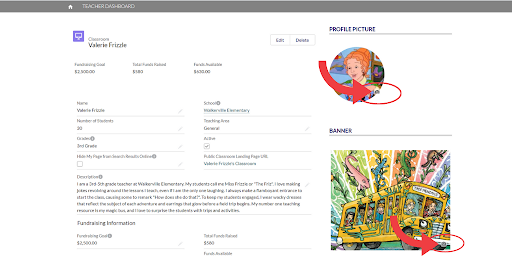
Once you login, you can update the information on your classroom profile page. This is what potential donors will see. Please make sure your school information is accurate, and that your fundraising goal and description of your classroom needs are up-to-date.
PLEASE NOTE: We removed the section that asked you to describe your classroom’s supply needs, so make sure to update the description section with information about what you and your students need this school year.
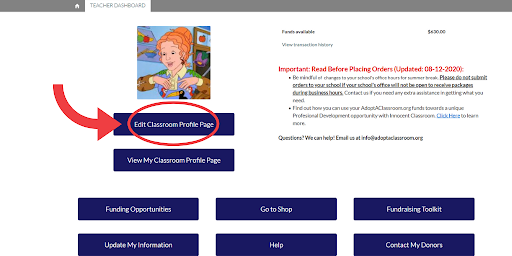
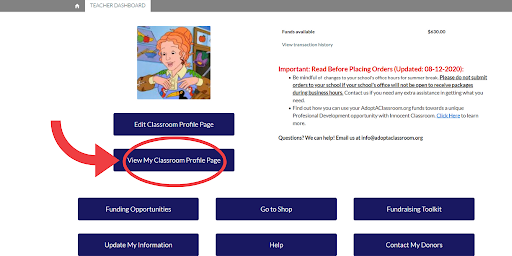
Step 1: Click the “Edit Classroom Profile Page” button
If you’ve never created a Classroom Profile Page, this button will instead say “Create Classroom Profile Page.” Click that button and follow the below steps.
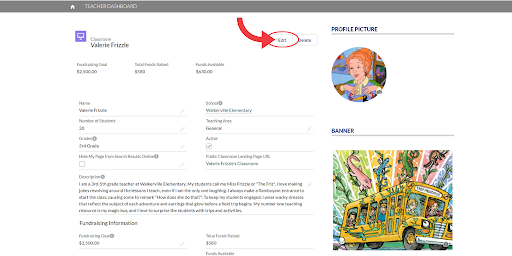
Step 2: Click the “Edit” button at the top of the page
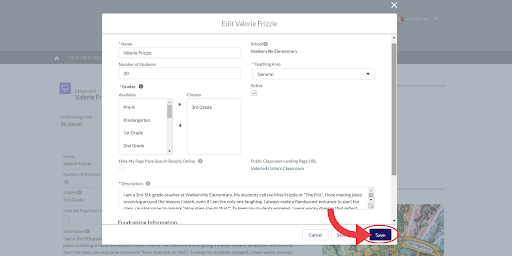
Step 3: Enter all of the information requested and click the “Save” button
Make sure to complete all of the information boxes that have a red asterisk in the heading. You need to complete that information for your classroom page to be valid.
If you want to create or update your classroom page but keep it hidden from donors for now, you can click the “Hide My Page from Search Results Online” box. Unchecking this box will make your page public again.
Step 4: To view your changes, click the “View My Classroom Profile Page” button
Clicking this button will bring you to your public-facing classroom fundraising page. Everything you see on that page is what potential donors will see when they visit your page.

How to: Upload photos to your classroom fundraising page
You can now upload a profile picture and a larger banner photo to your classroom fundraising page, similar to social media sites such as Facebook and Twitter.
Upload the images you believe will work best for fundraising, but we recommend a photo of yourself for the profile picture, and a photo of your classroom with students for the banner image. If you upload an image of your students, make sure to read our blog post on how to take photos of your students and protect their privacy here.
Step 1: Click the “Edit Classroom Profile Page” button

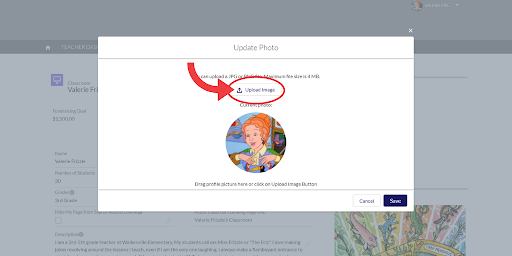
Step 2: Click the camera icon in the “Profile Picture” section to upload a profile picture, or click the camera icon in the “Banner” section to upload a banner image
Step 3: Click the “Upload Image” button and select the image from your computer that you want to upload
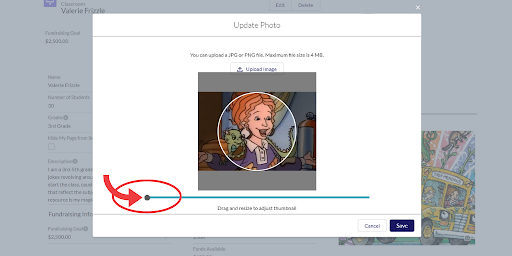
Step 4: Click the circle and drag it on the slider to adjust the image
Any part of the image that appears in the white circle will appear as your profile picture. Everything outside of the white circle will not appear in your profile picture.
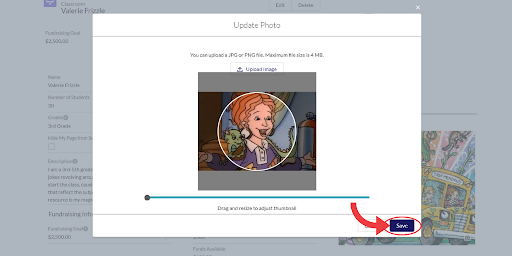
Step 5: Click the “Save” button to finish uploading your photo to your classroom fundraising page
How to: Find the link to your classroom fundraising page
After you have created or updated your classroom fundraising page, you can start sharing it with your community to help spread the word about what you and your students need.
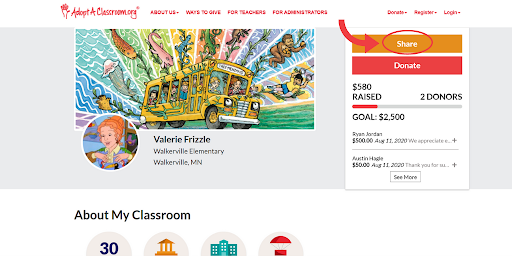
Step 1: Click the “View My Classroom Profile Page” button
Step 2: Click the “Share” button
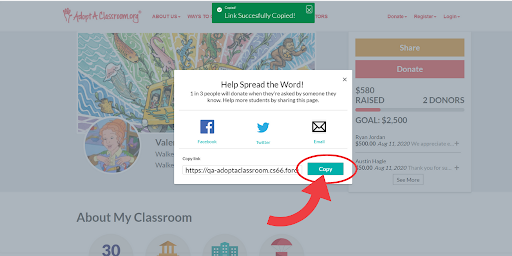
Step 3: Click the “Copy” button
Clicking the “copy” button will copy the link to your public-facing classroom fundraising page so you can paste the link in your communications to potential donors, such as a social media post or in an email.
Step 4: Paste the link wherever you’d like to share it with potential donors
After you add your classroom fundraising page link to a social media post or email to potential donors, make sure to tell your classroom’s story and explain why you need funding, and what you’ll use donations for.
Read our Fundraising Guide for Teachers for inspiration on what to write in your social media post or email here.
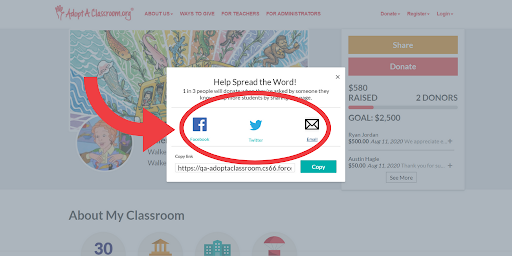
How to: Share your classroom fundraising page link directly to social media or email from our website
Step 1: Click the “View My Classroom Profile Page” button
Step 2: Click the “Share” button
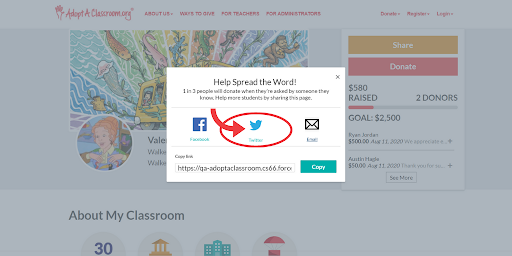
Step 3: Click the “Facebook,” “Twitter,” or “Email” icon to share your page directly to one of these channels
For this example, we’ll click the “Twitter,” icon to share the classroom fundraising page on Twitter.
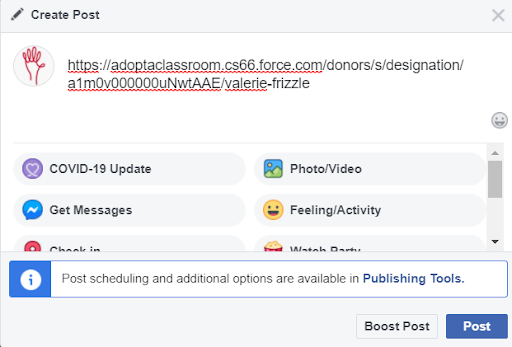
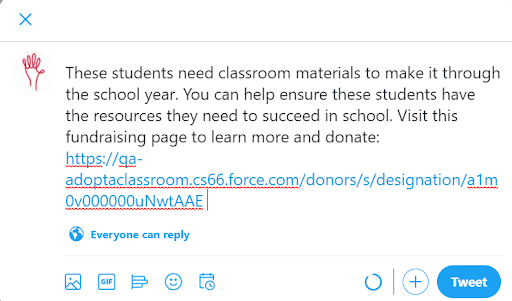
Step 4: Write your fundraising ask and share it with potential donors
When you share your link by clicking on the Facebook, Twitter, or email icons on our website, you will see an auto-generated fundraising ask that you can edit to fit your needs, as shown in the below Tweet.
Read our Fundraising Guide for Teachers for inspiration on what to write in your social media post or email here.
Have any additional questions about how to use our new classroom fundraising pages? Reach out to us at [email protected] and we can assist you.